
X1 PRO Laser Engraver Operation Guide (From Assembly to First Engraving)
This step-by-step guide is designed for first-time users of the X1 PRO 20W Blue Laser Engraver. It walks you through the entire process, from unboxing and assembly to powering on, software setup, focusing the laser, and completing your first engraving successfully.
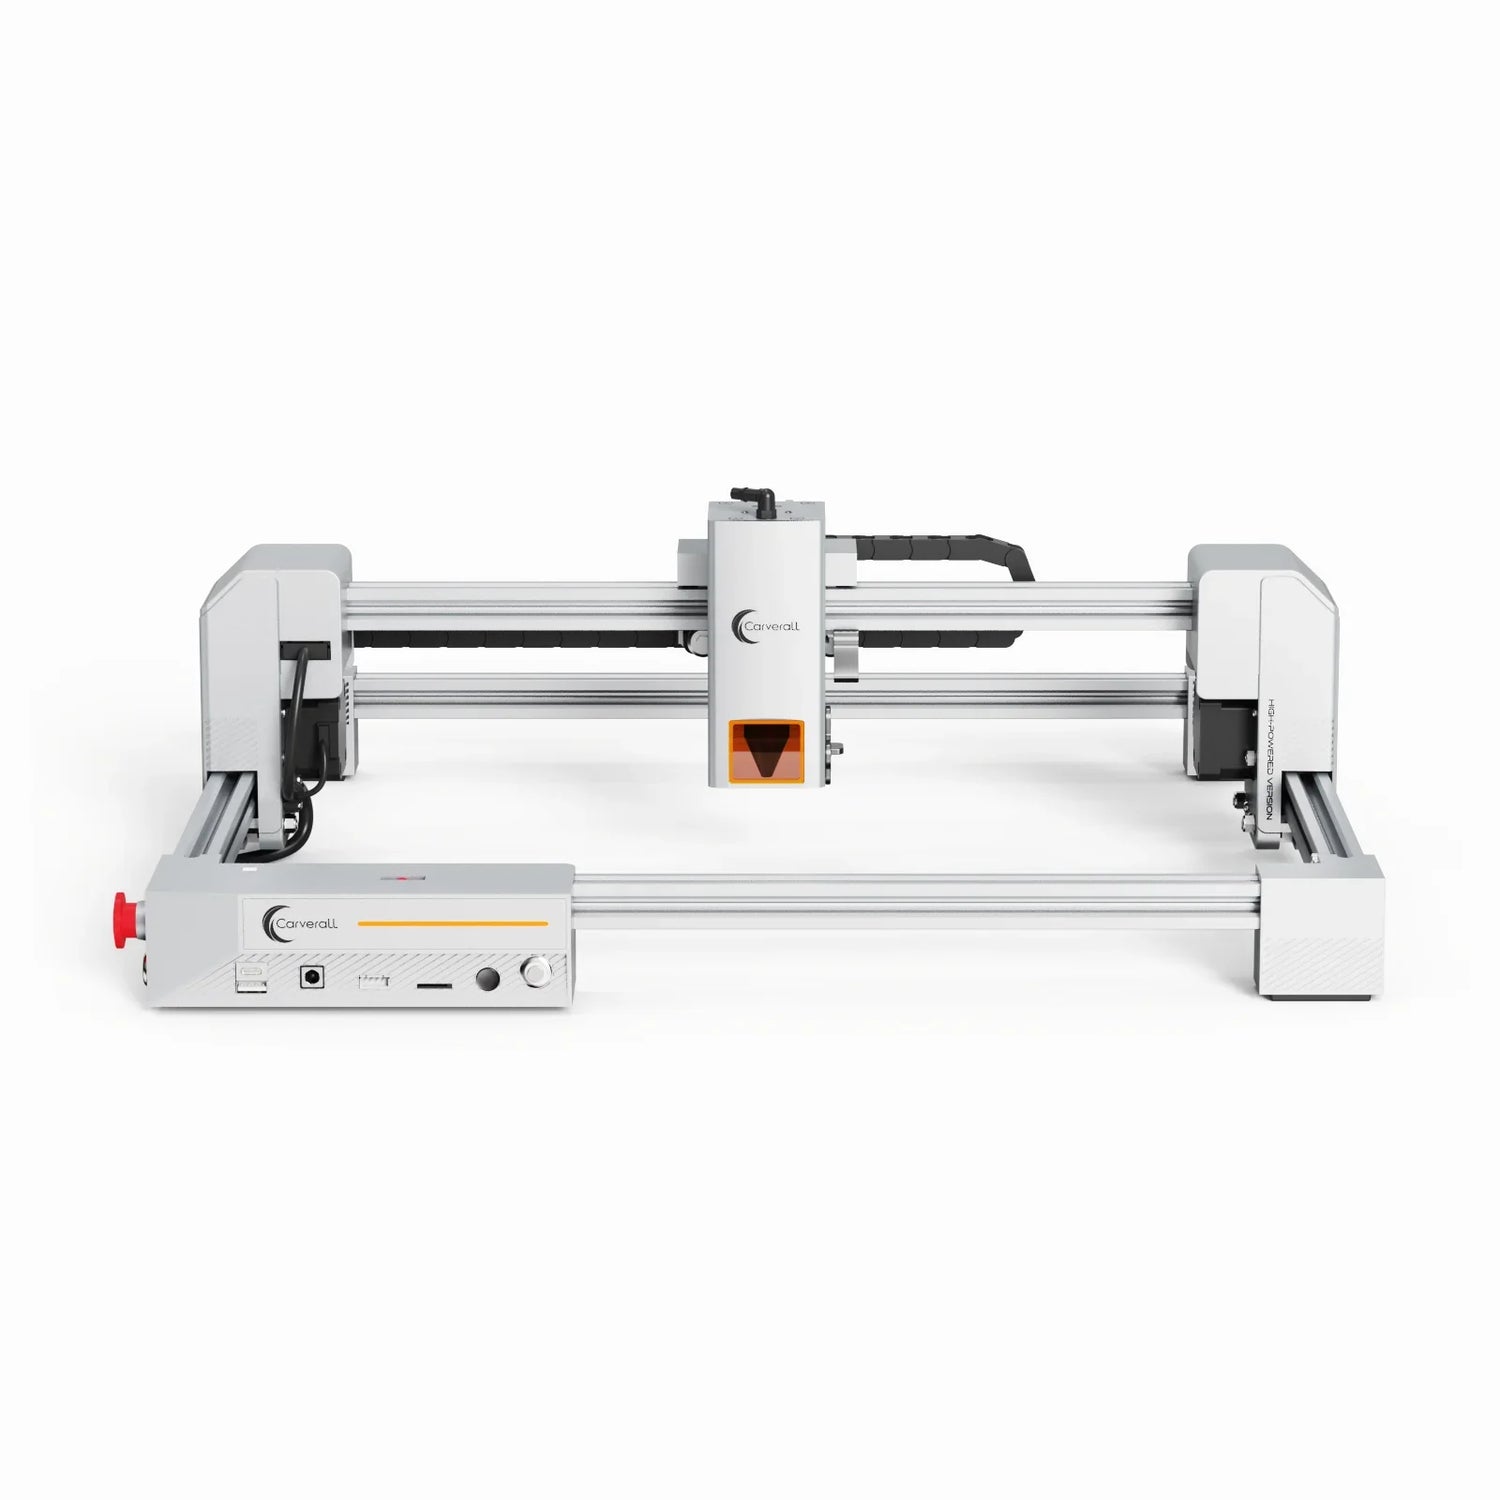
1. Unboxing & Machine Assembly
Please confirm that all the following components are included:
- X1 PRO frame structure parts
- 20W blue laser module
- Power adapter and power cable
- USB data cable
- Screws and installation tools

Follow the instruction manual to assemble the frame step by step. Tighten the screws lightly at first, make sure the frame is square and aligned, then fully tighten all screws.

Mount the laser module onto the slider and secure it firmly. The laser head should be adjustable up and down for focusing.

Assembly Video Guide
2. Power On & Device Connection
Make sure the power switch is turned off first, then connect the power adapter and plug it into the outlet.

Turn on Wi-Fi on your phone and connect to the engraver’s Wi-Fi network named Carverall JL9. After connecting, open CutLabX in your browser and enter the IP address 192.168.0.1. Once connected successfully, you can upload images and start creating.

Use the USB cable to connect the X1 PRO to your computer. Launch the control software and confirm that the device is recognized. After successful connection, the machine will automatically home.

3. Software Setup & Basic Parameters
Import an image or vector file into the software. Adjust the size and position to make sure it fits within the working area.

- Power: Start with low to medium power and test first
- Speed: Higher power usually allows faster speed
- Mode: Fill or line engraving depending on your design

4. Material Placement & Laser Focusing
Place the material flat in the center of the working area. Make sure it does not move or warp during engraving.

Adjust the height of the laser module so that the laser is precisely focused on the material surface. Correct focus is essential for sharp and clean engraving results.

5. Start Engraving & Finish
Use the frame or preview function to ensure the engraving area stays within the material boundaries.

Double-check all parameters and start engraving. Do not stare directly at the laser or place your hands inside the working area during operation.

After engraving is finished, wait until the laser stops completely. Turn off the power and carefully remove the finished piece.

Full Operation Video Demonstration
For first-time use, it is highly recommended to run multiple test engravings. Different materials require different power and speed settings.


